We were taught a few basics to using Adobe Illustrator with James in the Mac Suite today. One of the main tools he talked us through was the pen tool, a vital piece for graphic designers. Having never used Illustrator before I found the workshop helpful as an introduction.
We were given short tasks to repeat patterns that had been made digitally, which included both straight lines and curves, in different orders:


Using the pen tool we made both straight lines and curves.
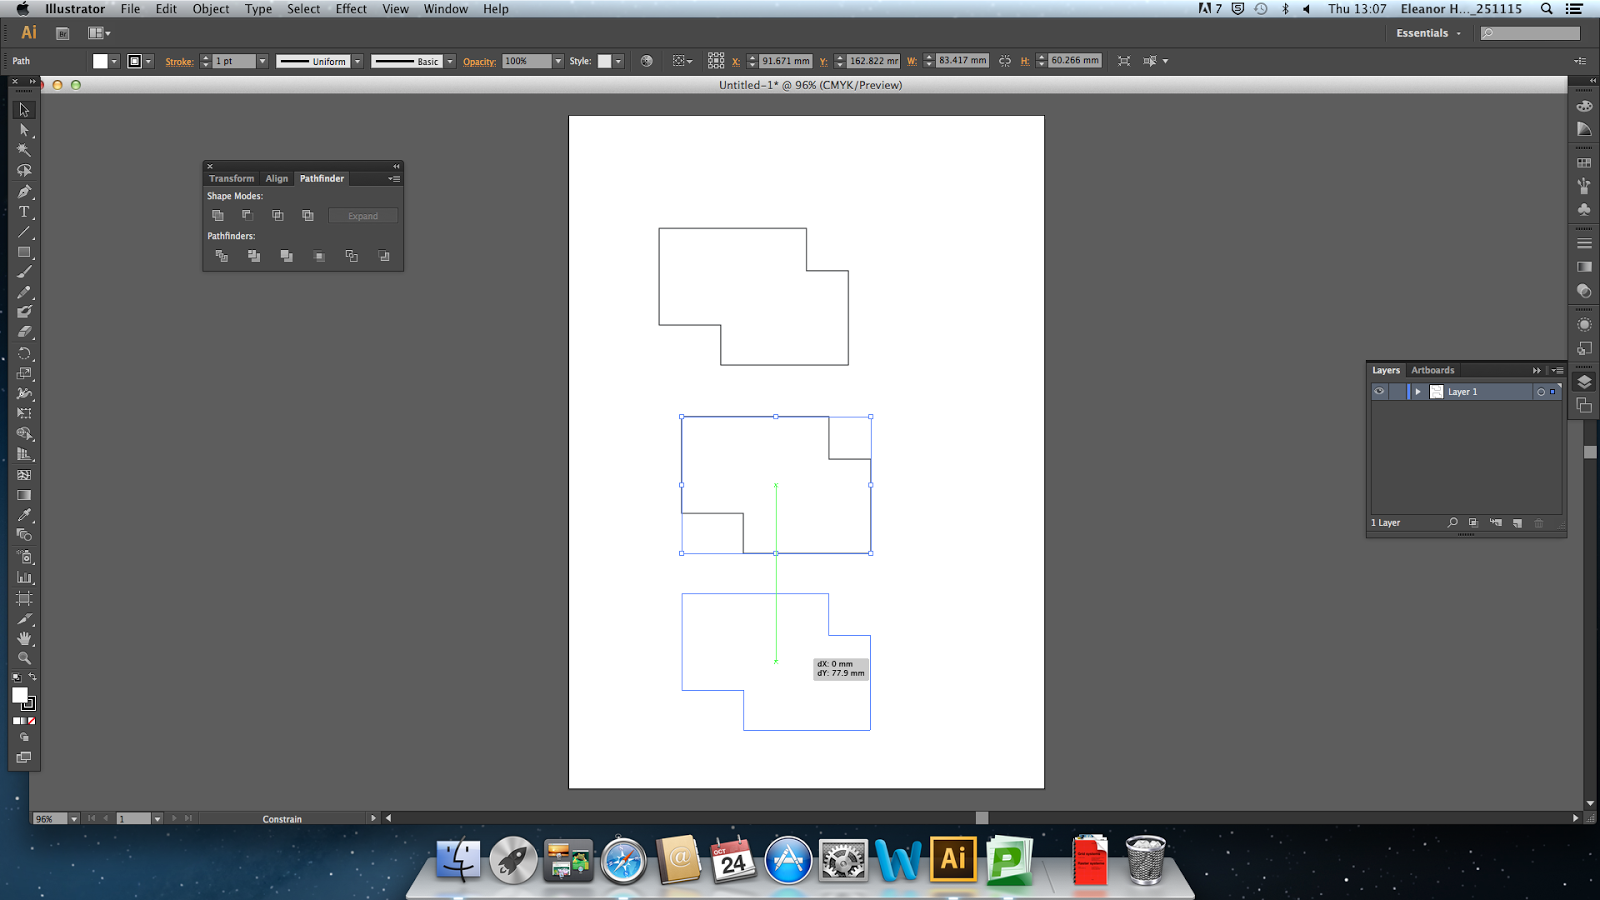
We then went on to learn about shapes and how to merge two shapes together. You can do this by using the pathfinder tool (box to the left of white page):

Select both rectangles using arrow tool and click 'Unite' button in the pathfinder box (first button):

Result = the inside lines of the shape are removed to create a new shape:

We also learnt how to copy a shape. Using the alt key and dragging the shape it copies it, so you can copy objects exactly in a simple and efficient manner:


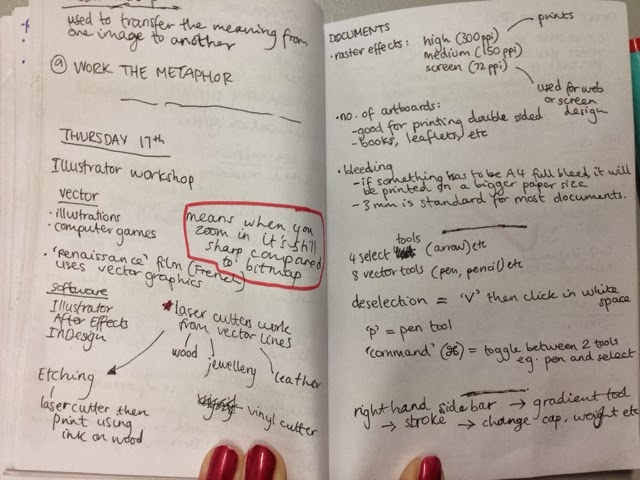
Vector images are different to picture based images because they readjust when scale up or down so that they maintain a high quality. They are used primarily for illustrations and computer games. Renaissance (a French animation film) uses vector graphics as well for the ease of editing and high quality result.

Thursday 24th
Today we carried on from last week by learning how to edit and reform marks using the pen tool.


Learning how to align shapes
Another key learning point for Illustrator is how to transform and move objects in a quick yet precise way. James showed us how to multiply, align, move, and transform shapes in the fastest possible way which will help us to save time when designing.
I created five random shapes using the rectangle tool and selected them all by dragging over them whilst the arrow tool was selected:

I then used the above 'align/transform' box (with align selected) to move these objects into a certain place. Here I vertically aligned them so the top of every shape was aligned:

I also tried this out by aligning them to the left using a different icon under the 'align' section:

Some other keyboard shortcuts I have learnt include the rotate tool - an easy way to achieve similar shapes or rotated objects (e.g. letterforms); using 'alt' to quickly copy/paste an object; the paintbrush tool; the correcting pencil tool, and more.
Rotating and multiplying objects
Using the pencil tool I drew a slightly curved line as an example to practice with. I then clicked on the rotate tool, then selected a space just below the bottom of my curve as my axis. To make the white circle in the middle smaller I would need to select a space much nearer to the end of my curved line.


By pressing 'Cmd+d' I was able to create as many replicas of my curved line as I wanted - all automatically set to a few degrees apart, creating a circular rotated design.


I had to group the 3 separate lines together by selecting 'Object - Group' so that I could copy the shape as a whole rather than one line at a time.


As I went on, the shape became more dense. This can be done with any object - even text:


I can use this knowledge when creating designs in the future.
Adding Text
There are two ways to create text in Illustrator.
1. Click and drag (while 'T' text tool is selected)
This creates a text box, size of your choice, which fills up when you keep on typing and can be stretched after being created to whatever size, while the text size stays the same. When there is too much text in a box, the output goes red (a small box at the bottom right corner of the text box).
2. Click and type (while 'T' text tool is selected)
When you have clicked once using the text tool, there is unlimited amount of space to fill when typing. When selecting the text to edit or move, adjusting the box size means adjusting the text size as well. To keep the font in the correct proportions the shift key needs to be held down.
When using the first method to create text, when text overflows that box you can create a new text box and link them so that whatever type is overflowing in the first box it automatically goes into the second, linked box. This is ideal for newspaper or leaflet design which is something I am really interested in.
This can be done by double clicking the output box, and this automatically links the two together.


Second box is created next to/below first box and excess text is automatically in that box.
Drag the second box to wherever and blue line shows link between the two text boxes:

Other type tools include the vertical type tool and type on a path tool:

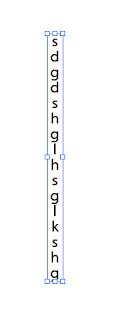
We also learnt how to text wrap. As an example I did this circle shape in the middle of a block of text:


Object - Text wrap - Make
One of the final things we learnt was how to distort and edit existing letterforms. As an example I tried this out with the letter 'A'.

I began by typing my desired letter and pressing Cmd+Shift+O to create extra points across the shape (shown as blue squares on the outline). This helps to distort the shape however I like.

I could use the normal pen tool (as I have here) to create block shapes/distortions to the letterform. However this gives me less control so a better tool to use would be the Convert Anchor Point Tool which lets me choose any point on the outline of the letterform to move around and change as freely as I would like.


No comments:
Post a Comment